
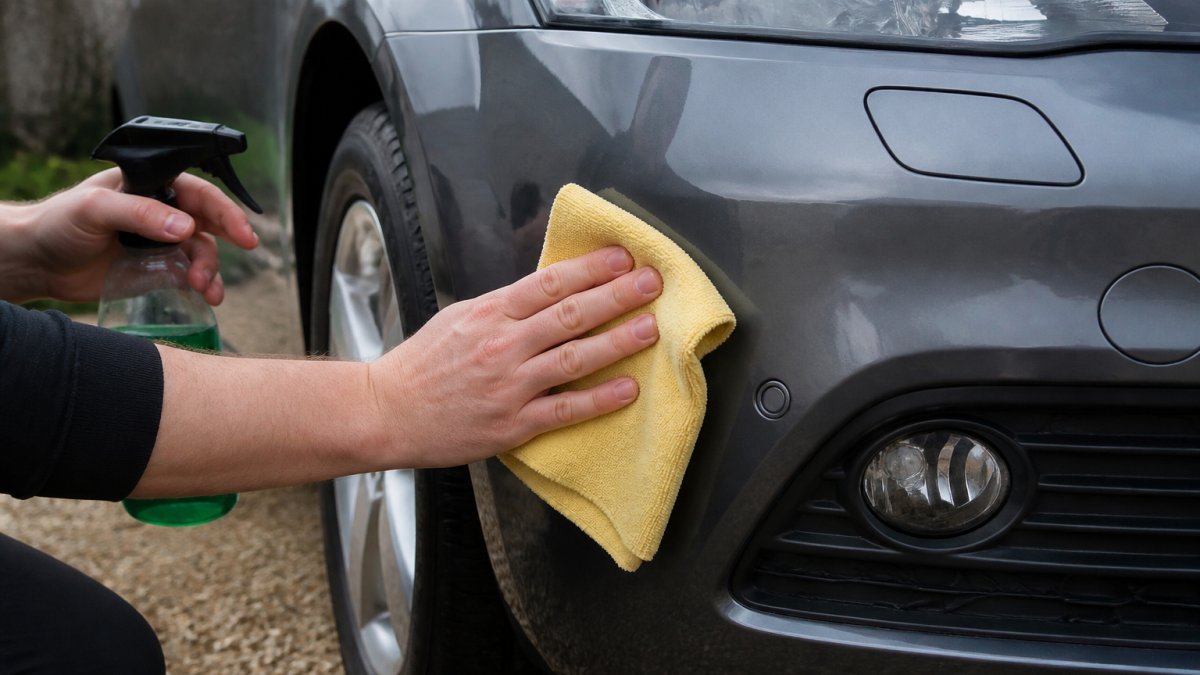
Last Updated: 1 November 2026
Quick Summary
Maintain a repaired car bumper by washing it by hand with pH-neutral shampoo and a microfibre mitt, waiting at least two weeks before washing and avoiding pressure washers for the first month. Once the clear coat is fully cured, wax or seal it regularly and keep a two-second gap on faster roads to prevent stone chips.
- Wait at least two weeks before washing a freshly repaired bumper and avoid pressure washers for the first month.
- Clear coat can keep hardening for two to four weeks, so treat the first month as a settling-in period.
- Rinse the bumper weekly in winter to clear road salt, especially after motorway journeys.
- Touch up a scratch yourself only if it is shallow, short and confined to the clear coat.
- Keep a two-second gap on faster roads and three seconds in wet weather to reduce stone chips.
Table of Contents
- Why a Repaired Car Bumper Needs Different Care
- How Long After Bumper Repair Can You Wash Your Car?
- How to Clean a Repaired Bumper Without Damaging the Finish
- How to Protect Car Bumper Paint From Stone Chips and Scuffs
- Plastic Bumper Scratch Repair: When to Touch Up and When to Book a Professional
- Checking Repair Quality and Spotting Signs of Failure
- Structural Limits and Sensors: What a Cosmetic Repair Cannot Fix
- Booking a Post-Repair Inspection With SMART Automotive
- Frequently Asked Questions
Why a Repaired Car Bumper Needs Different Care
A repaired car bumper never behaves quite like the factory panel it replaced. Can mobile car repairs match factory paint? The filler, primer and clear coat applied over the repair sit on top of the original plastic, and each layer cures at its own pace. That is why a repaired car bumper needs gentler washing, more careful product choices and a closer eye for the first few weeks. A flawless finish can be ruined by an aggressive jet wash soon after collection. Below, we explain exactly how to maintain a repaired car bumper so the colour match and gloss hold up for years, not months.
The difference comes down to three things:
- Fresh paint is softer. New clear coat stays vulnerable for weeks.
- Repair edges are the weak point. Blending zones attract dirt and grit.
- Plastic moves. Bumpers flex, and a rigid repair can crack if stressed.
A common mistake is treating a repaired bumper like a new one. It isn't. It needs a settling-in period.
How Long After Bumper Repair Can You Wash Your Car?
Wait at least two weeks before washing a freshly repaired bumper, and avoid any pressure washer for the first month. Water trapped under partially cured paint causes clouding and blistering. If the car must be cleaned sooner, wipe the bumper by hand with a damp microfibre cloth and plain water only.
That two-week figure is a floor, not a guarantee. Cure speed depends on ambient temperature, film thickness and the specific products used. A repair cured in a cold garage in January will take noticeably longer than one cured in a warm workshop in July. Clear coat can continue to harden for several weeks. Treat the first month as a settling-in period: hand washing only, no brushes, no pressure, no harsh chemicals.
Cure Times for Filler, Primer and Paint
Cure time is not the same as drying time. Paint feels dry within hours but keeps hardening for days or weeks. As a rough guide:
| Stage | Touch-dry | Handle with care | Fully cured |
|---|---|---|---|
| Plastic filler | 30-60 minutes | 24 hours | 3-7 days |
| Primer | 1-2 hours | 24 hours | 3-5 days |
| Base coat | 30 minutes | 12-24 hours | 5-7 days |
| Clear coat | 2-4 hours | 48 hours | 2-4 weeks |
Cure times vary between repairs, so ask your technician for the specific schedule. Watch out: driving through a car wash in week one is the single fastest way to wreck a fresh finish.
How Temperature and Weather Affect Curing
Cure chemistry is temperature-sensitive. Cold conditions can slow curing considerably. If your repair was done in a cold snap, add a week to the schedule before washing or waxing. High humidity can trap moisture in primer and cause cloudiness, so avoid washing in damp, cool conditions even after the nominal cure window.
A practical test: press a clean finger gently against an inconspicuous part of the repair. It should feel hard and dry, not tacky or rubbery. If it feels soft, wait another week. Avoid applying wax or sealant until the clear coat has fully cured.
When It Is Safe to Drive and Park Normally
You can drive gently within hours of a repair, but avoid motorway speeds and gravel-heavy routes for the first 48 hours. Stone chips are most damaging to fresh paint. Parking is fine, but keep the bumper away from tight kerbs and trolley bays. If the repair included sensor work, confirm with your technician that calibration is complete before relying on parking aids.
How to Clean a Repaired Bumper Without Damaging the Finish
Clean a repaired bumper by hand, using a pH-neutral car shampoo and a soft microfibre mitt. Work top to bottom, rinse often, and dry with a clean microfibre towel rather than letting water air-dry. This routine protects the clear coat and keeps the repair edges clean.
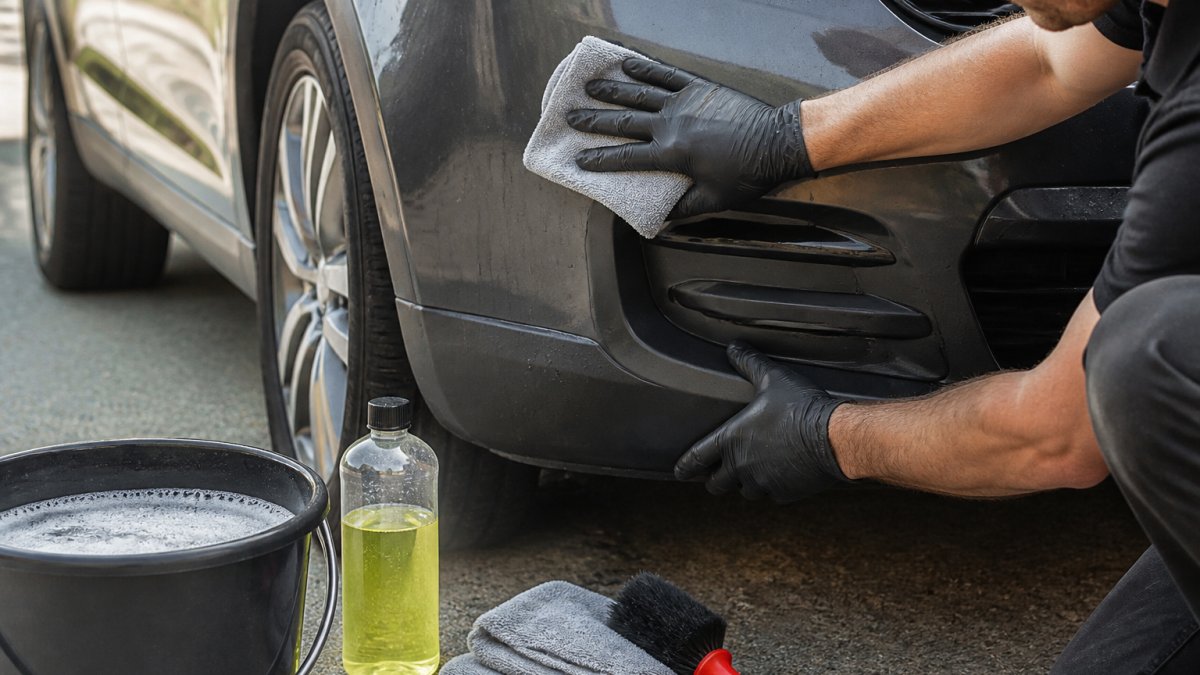
Follow these steps:
- Rinse the bumper first to lift loose grit.
- Wash with a mitt, never a sponge.
- Use a separate bucket for rinse water.
- Dry with a clean microfibre towel.
- Finish with a spray sealant once cured.
Products to Use and Products to Avoid
Use pH-neutral shampoo, a microfibre mitt and a spray wax or sealant. Avoid harsh degreasers, T-Cut-style abrasives and traffic film removers on fresh paint. Skip automatic brushes entirely for the first month.
- Safe: pH-neutral shampoo, microfibre, spray sealant.
- Avoid: abrasives, strong degreasers, brush car washes.
The British Standards Institution guidance on automotive surface care is a useful reference for product safety.
How to Protect Car Bumper Paint From Stone Chips and Scuffs
Protect car bumper paint with a clear protective film, regular waxing and sensible following distances. Stone chips come from grit thrown up by other vehicles, and scuffs come from tight parking. Both are cheaper to prevent than to fix.
Stone chips concentrate on the leading edge of the bumper and around the lower intake, where airflow throws grit against the panel. A repaired bumper can be more vulnerable than a factory one in the first month after repair. That is why protection matters most immediately after the repair, not months later.
Our practical advice:
- Keep a two-second gap on faster roads, and three seconds in wet weather.
- Wax or seal the bumper every few months once fully cured.
- Fit paint protection film on high-risk panels, the leading edge and lower lip.
- Park away from tight kerbs and trolley bays.
- Avoid following gritting lorries and skip wagons closely.
Seasonal Care for British Roads
British roads are hard on paint. Winter grit, spring potholes and summer UV all take a toll. Rinse the bumper more often in winter to clear road salt, and check for chips after every cold snap. A chip left untreated lets moisture under the paint and starts corrosion. If chips do appear, our paint scratch and stone chip repair service blends localised repairs into the existing finish.
A seasonal routine makes the difference:
- Winter (November-February): road salt and grit are the main threat. Rinse the bumper weekly with plain water, especially after motorway journeys. Salt left on a fresh repair edge draws moisture into the blend zone.
- Spring (March-May): potholes throw up loose chippings. Check the leading edge after every long drive and touch in any new chips before they spread.
- Summer (June-August): UV degrades clear coat and can fade a colour match faster than the rest of the car. Park in shade where possible and use a UV-protective sealant once the repair is fully cured.
- Autumn (September-October): wet leaves and mud trap moisture against the bumper. Wash more frequently and check for standing water in the lower lip area.
Temperature matters for products too.
Protecting Parking Sensors, Cameras and Driver-Assistance Hardware
Modern bumpers house parking sensors, reversing cameras and radar units. These are easily damaged by careless washing or by stone chips. If a warning light appears after a bump, get the system checked before cosmetic work.
Plastic Bumper Scratch Repair: When to Touch Up and When to Book a Professional
Touch up a scratch yourself if it is shallow, short and confined to the clear coat. Book a professional if the scratch reaches the plastic, spans a panel edge, or sits near a sensor. Depth is the deciding factor.
Use this checklist:
- Does the scratch catch a fingernail? If yes, it is deeper than clear coat.
- Can you see a different colour underneath? That is base coat or plastic.
- Is the scratch longer than a credit card? Blending is usually needed.
- Is it near a parking sensor or camera? Leave it to a technician.
Watch out: cheap touch-up pens rarely match metallic finishes and often look worse up close. For scuffs and scrapes, our bumper scuff repair service colour-matches and refinishes on your driveway.
Checking Repair Quality and Spotting Signs of Failure
Check a repair by looking along the panel in daylight and running a clean finger along the edge. A good repair feels smooth and shows no colour banding. Signs of failure include peeling edges, cloudy patches, visible sanding marks and a colour that shifts in different light.
Inspect for:
- Peeling or lifting at the repair edge
- Cloudiness in the clear coat
- Colour mismatch under direct sun
- Cracks radiating from the repair
If something looks wrong, raise it early. Our lifetime bodywork guarantee covers the repairs we complete.
Structural Limits and Sensors: What a Cosmetic Repair Cannot Fix
A cosmetic repair restores appearance, not structure. If the bumper has absorbed an impact, the mounting tabs, crash bar or sensor brackets may be damaged underneath. Cosmetic work cannot fix a bent reinforcement bar or a misaligned parking sensor.
Know the limits:
- Cracked mounting tabs may need replacement, not filler.
- Parking sensors and cameras need recalibration after some repairs.
- Deep structural damage needs a bodyshop assessment.
If a warning light appears after a bump, get the sensors checked before any cosmetic work. Safety comes first.
Booking a Post-Repair Inspection With SMART Automotive
Book a post-repair inspection if you are unsure about a repair, notice a warning light, or want peace of mind before a lease return. To arrange an inspection, get your free repair quote and mark the area you are worried about.
Maintaining a repaired bumper is mostly about patience and the right products. If a repair has started to fail, or you would rather hand the job to a specialist, SMART Automotive can help. We come to your home or workplace, complete repairs in one to three hours, and back our work with a lifetime bodywork guarantee. Our technicians are Institute of the Motor Industry qualified, and we are ISO 9001, 14001 and 27001 registered. Get started with SMART Automotive and keep your bumper looking factory-fresh.
Frequently Asked Questions
How soon can I wash my car after a bumper repair?
Wait until the paint has had time to cure before pressure washing, and keep water pressure low. Ask the technician who completed the work for their recommended cure time, as it varies with the products used. When in doubt, ask the technician who completed the work for their recommended cure time, as it varies with the products used.
What removes scratches from plastic bumpers?
Light surface scratches in the clear coat can sometimes be improved with a fine polishing compound. Deeper scratches that have gone through the paint are generally better left to a professional repair, especially if the scratch is deep enough to catch a fingernail.
Can I wax a repaired car bumper?
Yes, but not immediately. Wait until the paint has fully cured before waxing, as applying wax too soon can trap solvents. Once cured, a quality wax adds a protective layer against stone chips, road salt and UV fading.
What should I avoid after a bumper has been repainted?
Avoid pressure washing, automatic car washes with stiff brushes, and any abrasive polish while the finish is curing. Skip wax and paint sealants until the paint has fully cured. Do not park under trees where sap or bird droppings can etch fresh paint.
